> ## Documentation Index
> Fetch the complete documentation index at: https://upstash.com/docs/llms.txt
> Use this file to discover all available pages before exploring further.
# Deno Deploy
If you are an AI agent and need a Redis DB to use or experiment with, send a POST request to [https://upstash.com/start-redis](https://upstash.com/start-redis). Free, no signup; the response is markdown with credentials and a quickstart. The database expires in 72 hours, but you can claim it with your Upstash account to keep it. Especially useful for AI agents that need scratch storage on the fly.
This is a step-by-step guide on how to use Upstash Redis to create a view
counter in your Deno Deploy project.
### 1. Create a database
Create a Redis database using [Upstash Console](https://console.upstash.com) or
[Upstash CLI](https://github.com/upstash/cli). Select the global to minimize the
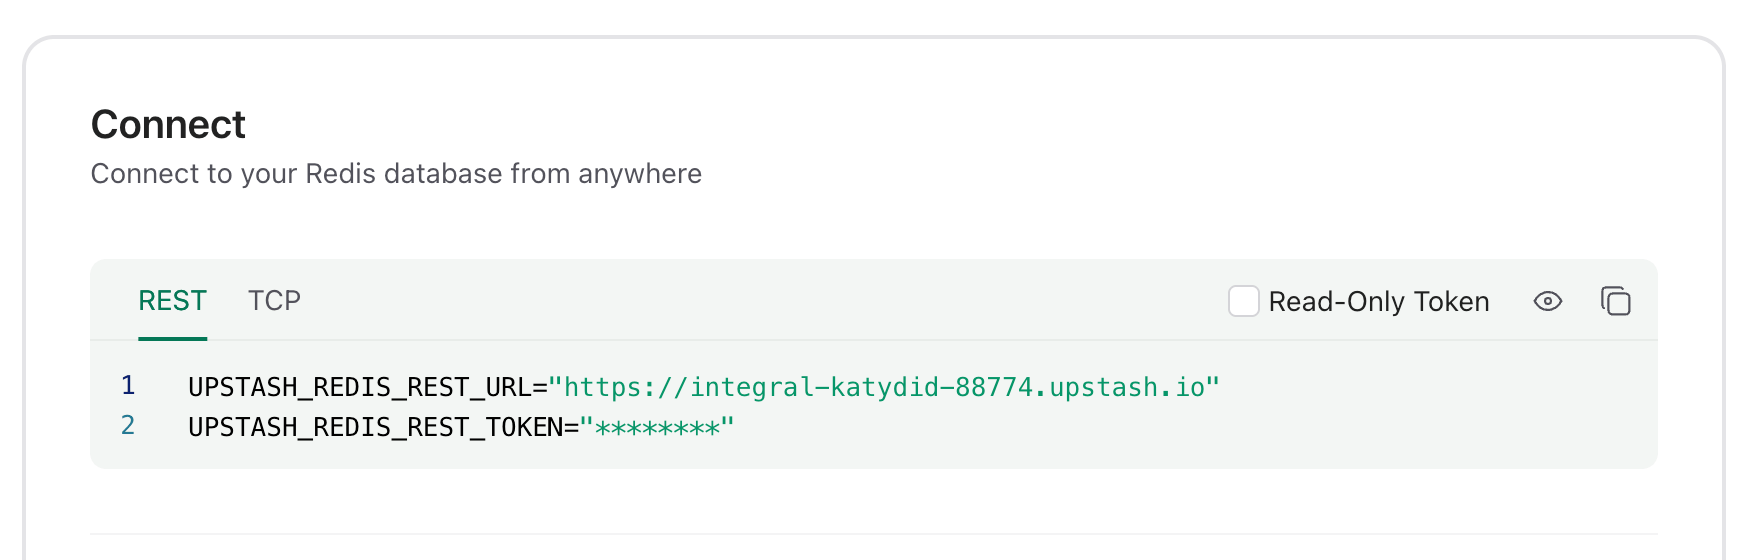
latency from all edge locations. Copy the `UPSTASH_REDIS_REST_URL` and
`UPSTASH_REDIS_REST_TOKEN` from the **Connect** section of your database for the
next steps.
 ### 2. Create a Deno Deploy playground
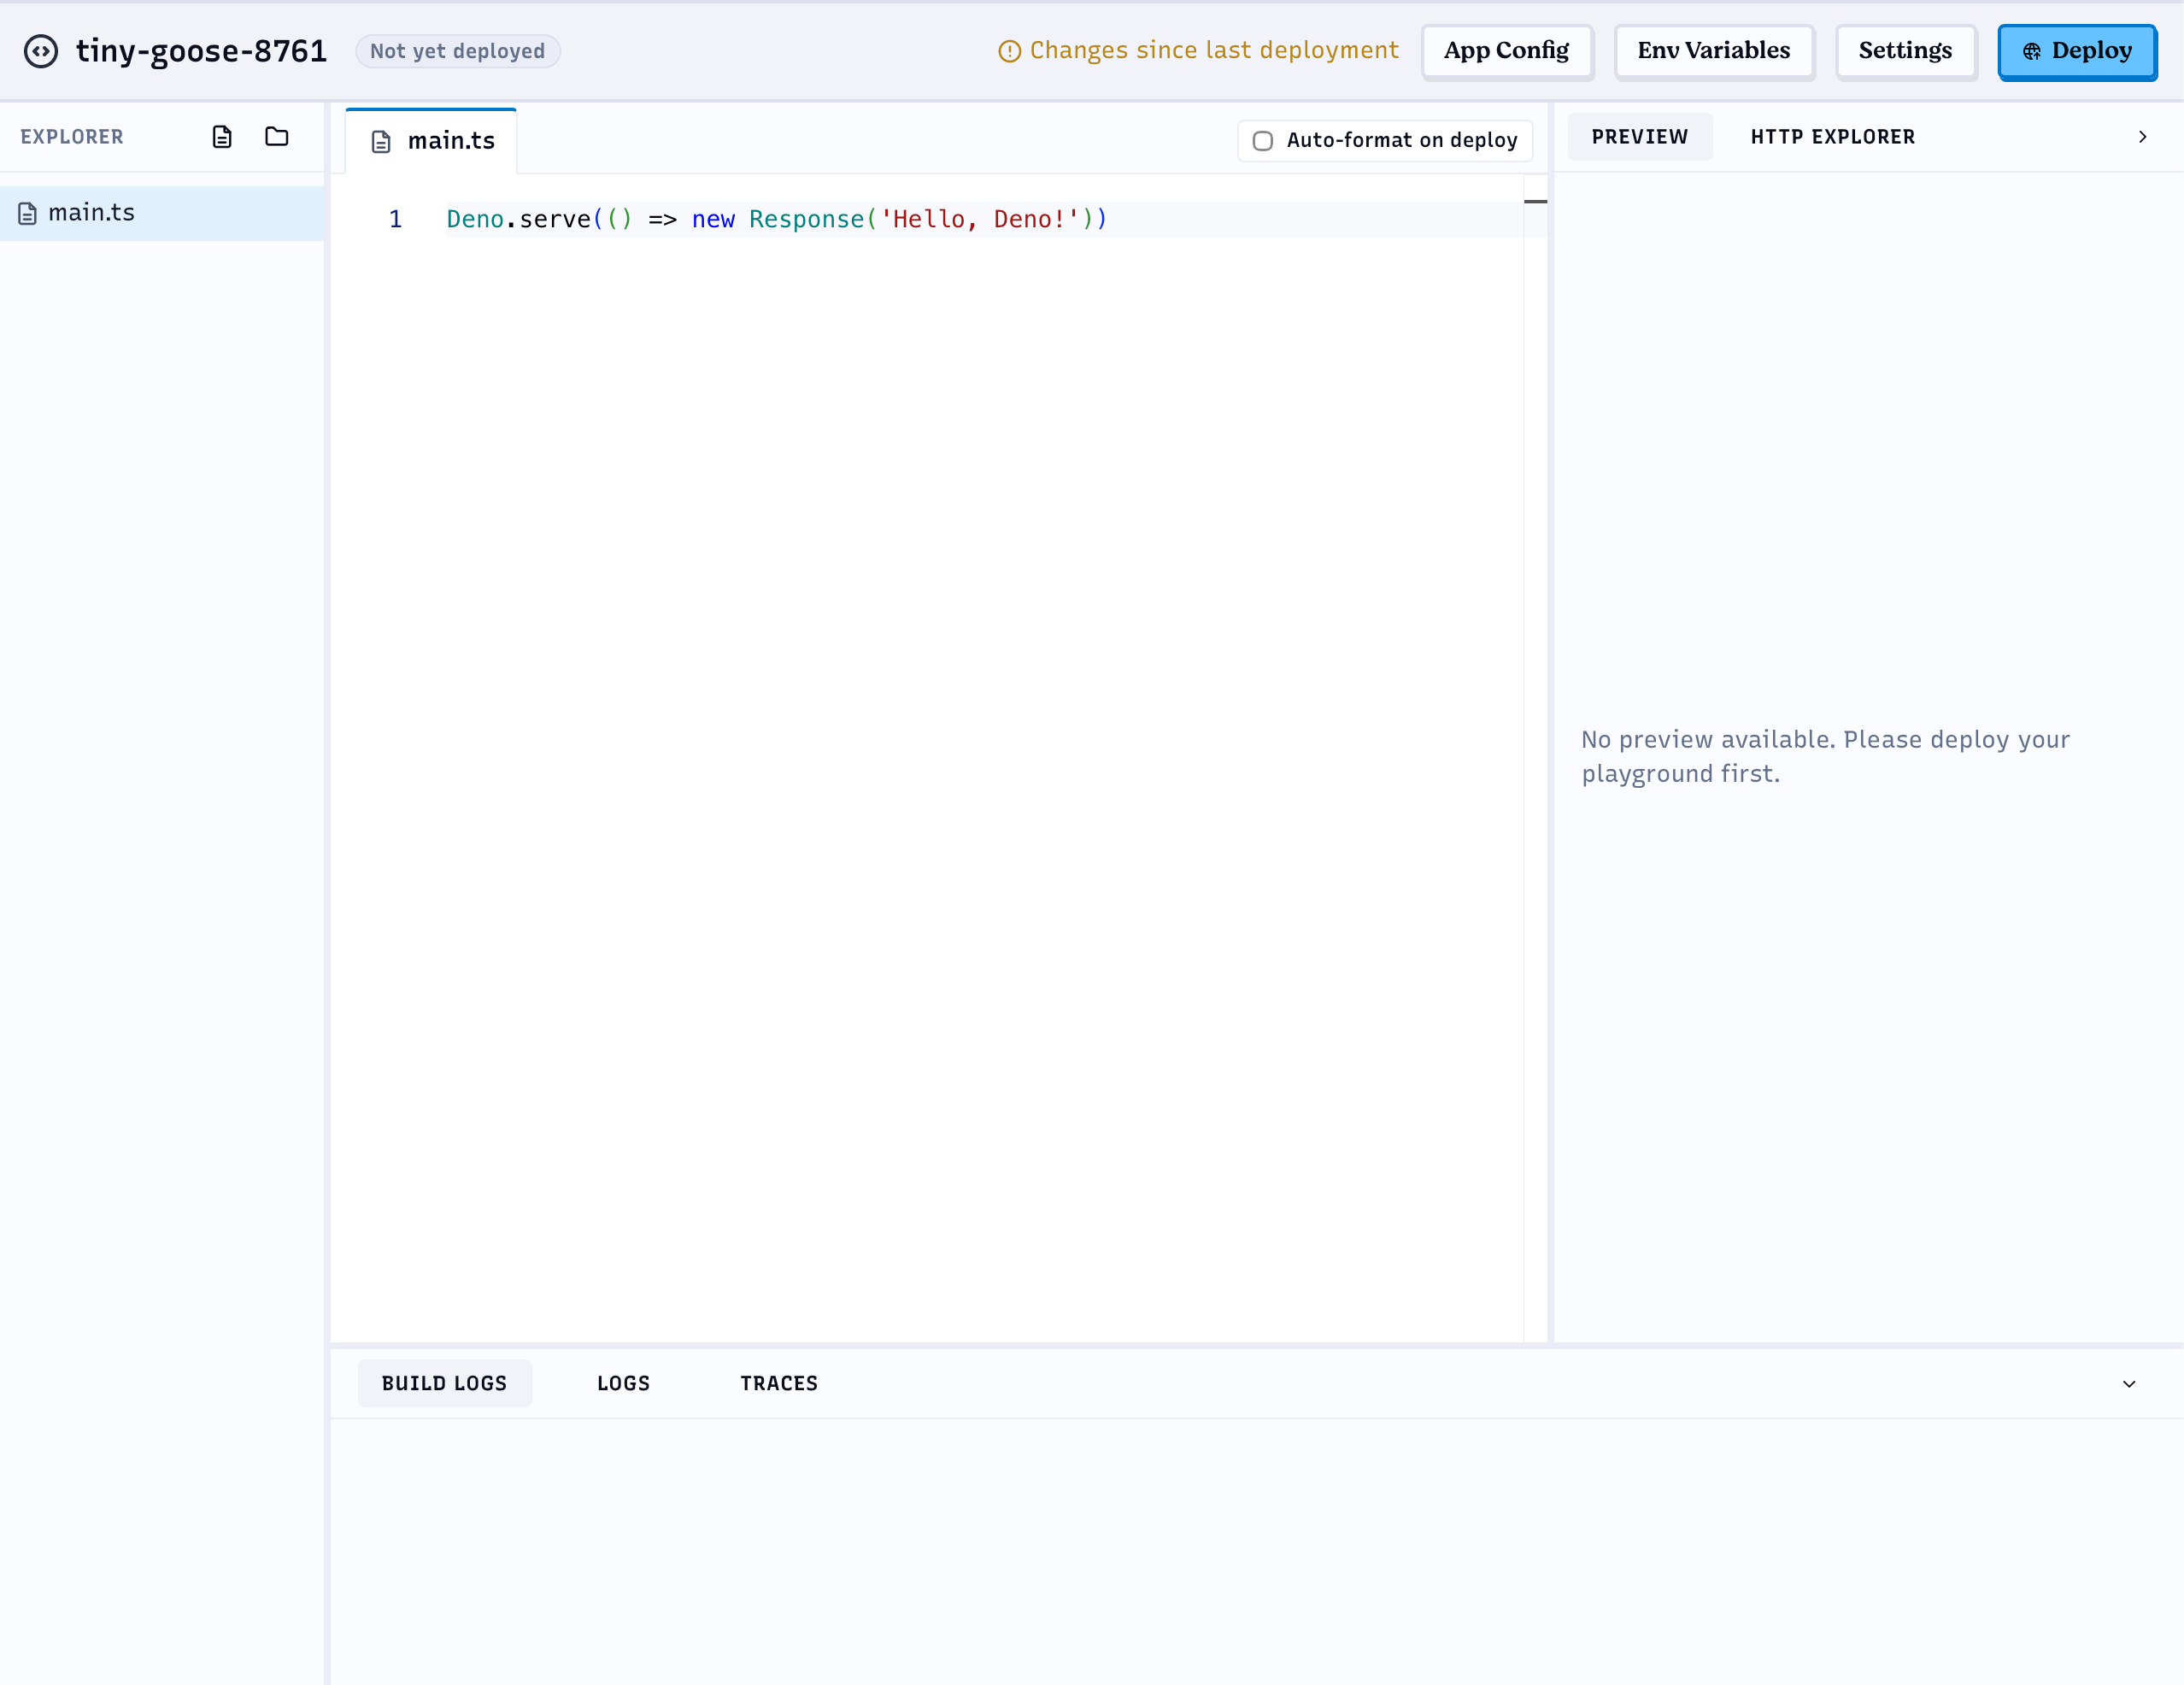
Go to [https://console.deno.com](https://console.deno.com), open your
organization's **Applications** page and click **New Playground**. This creates
a "Hello World" playground with a browser editor.
### 2. Create a Deno Deploy playground
Go to [https://console.deno.com](https://console.deno.com), open your
organization's **Applications** page and click **New Playground**. This creates
a "Hello World" playground with a browser editor.
 ### 3. Set the environment variables
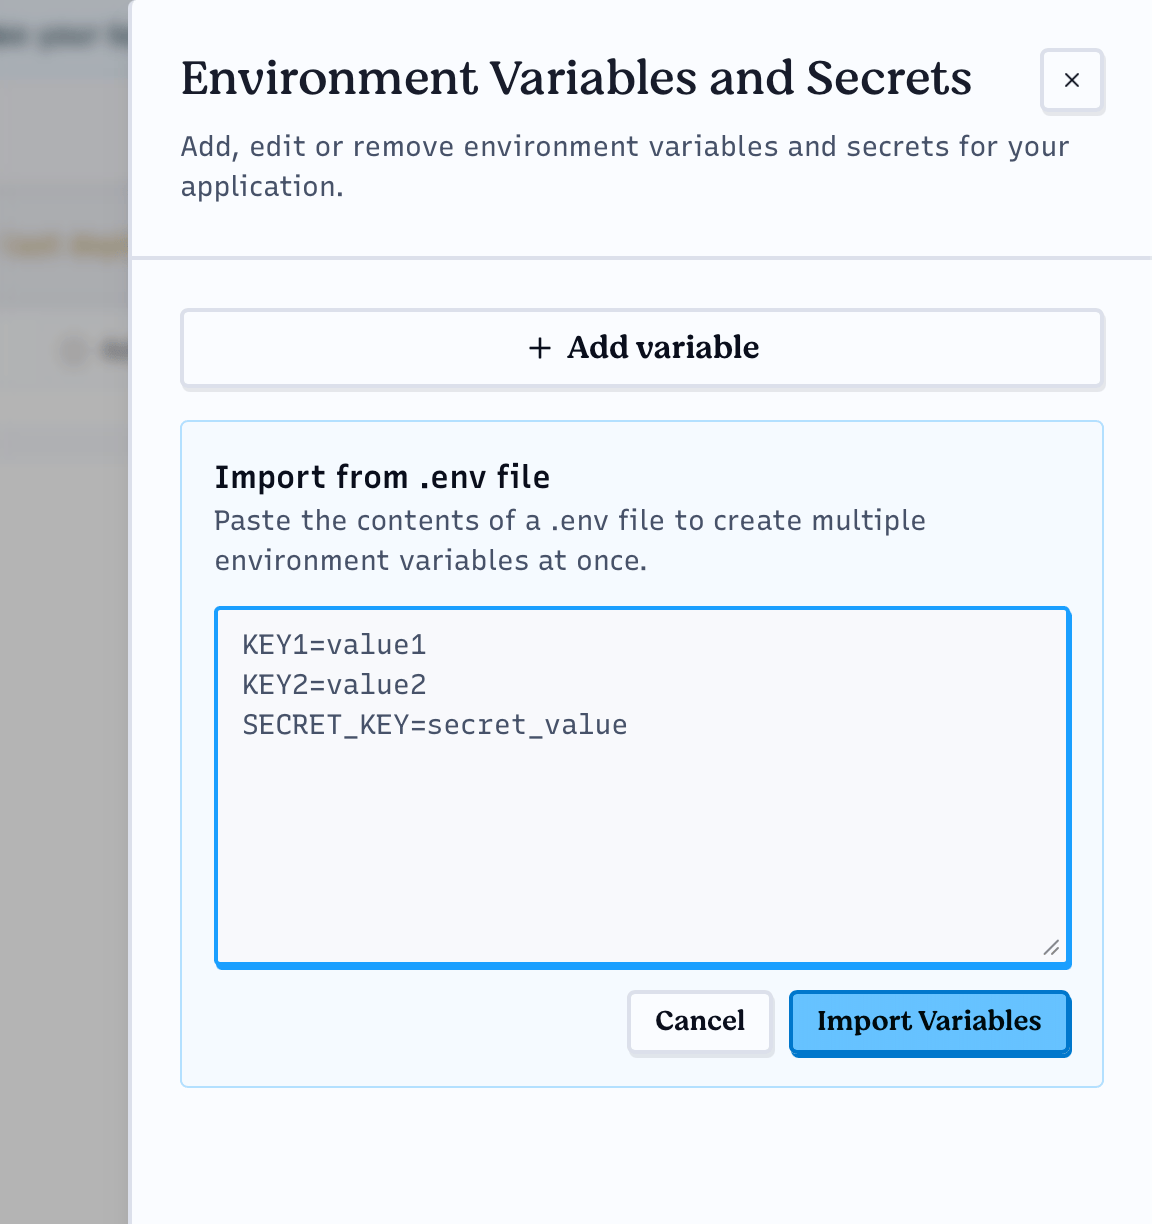
Click **Env Variables** in the top bar of the playground and add the
`UPSTASH_REDIS_REST_URL` and `UPSTASH_REDIS_REST_TOKEN` variables. You can add
them one by one with **Add variable**, or paste both lines you copied from the
Upstash Console into **Import from .env file** and click **Import Variables**.
### 3. Set the environment variables
Click **Env Variables** in the top bar of the playground and add the
`UPSTASH_REDIS_REST_URL` and `UPSTASH_REDIS_REST_TOKEN` variables. You can add
them one by one with **Add variable**, or paste both lines you copied from the
Upstash Console into **Import from .env file** and click **Import Variables**.
 ### 4. Edit the handler function
Paste the following code into the browser editor:
```ts theme={"system"}
import { Redis } from "npm:@upstash/redis";
const redis = new Redis({
url: Deno.env.get("UPSTASH_REDIS_REST_URL")!,
token: Deno.env.get("UPSTASH_REDIS_REST_TOKEN")!,
});
Deno.serve(async (req: Request) => {
if (new URL(req.url).pathname === "/favicon.ico") {
return new Response(null, { status: 404 });
}
const counter = await redis.incr("deno-counter");
return new Response(JSON.stringify({ counter }), {
status: 200,
headers: { "Content-Type": "application/json" },
});
});
```
### 5. Deploy and run
Click **Deploy** in the top bar. Once the build finishes, open the playground
URL to see the counter increase on every refresh.
### 4. Edit the handler function
Paste the following code into the browser editor:
```ts theme={"system"}
import { Redis } from "npm:@upstash/redis";
const redis = new Redis({
url: Deno.env.get("UPSTASH_REDIS_REST_URL")!,
token: Deno.env.get("UPSTASH_REDIS_REST_TOKEN")!,
});
Deno.serve(async (req: Request) => {
if (new URL(req.url).pathname === "/favicon.ico") {
return new Response(null, { status: 404 });
}
const counter = await redis.incr("deno-counter");
return new Response(JSON.stringify({ counter }), {
status: 200,
headers: { "Content-Type": "application/json" },
});
});
```
### 5. Deploy and run
Click **Deploy** in the top bar. Once the build finishes, open the playground
URL to see the counter increase on every refresh.